At some point during your photography quest you will come across the term “macro photography”. This shooting style is very popular in the photo world and everyone seems to marvel over it, but what exactly is it and how can you get in on the fun? Let’s tell you all about macro photography.
What is macro photography?

In a nutshell, macro photography refers to close-up, magnified images of very small things. Common examples are images of bugs, in which you can see them in so much detail you can even tell the minuscule hairs, eyes, and other details commonly unnoticeable to the naked eye. Other popular subjects are flowers, eyes, water droplets, and a plethora of other tiny objects.
In a nutshell, macro photography refers to close-up, magnified images of very small things.
While the rules have become more flexible in the past years, a photo is thrown into the macro photography category when the subject has a 1:1 ratio (or greater) in relation to your camera sensor. A 1:1 ratio is achieved when, say, your subject measures an inch in length and it covers an inch of your sensor. You could zoom in to make it greater, but purists believe that if you zoom out and the subject is no longer “life size”, the image is no longer under the macro photography umbrella. Some allow for more freedom and believe a 1:2, 1:3, or even smaller ratio is acceptable.
How do I shoot macro photography?
Picking the right camera and lens

Any camera will do macro photography as long as it can use the proper lens for it. If you want a camera with no interchangeable lens system, you might want to try and find one that can do 1:1 magnification. They are rare, but they are out there, and some phones are also capable of such feat to a certain extent.

Shot with a Huawei Mate 20 Pro
One important factor to consider is sensor size. While larger full frame sensors usually produce better overall imagery, many photographers take advantage of crop sensors like APS-C or smaller sensor sizes. Smaller crop sensors have a natural zoom effect, which gives you more working distance and allow you to photograph subjects from further away. This may help because getting too close to small animals can scare them away. In addition, crop sensors have a wider depth of field, allowing you to have more of the subject in focus. Not to mention pixel density is usually tighter, which can capture more of the tiny detail and textures.
You may also want a lens with as much focal length as possible. For example, a 200mm lens is more zoomed in, which also grants a larger working distance, allowing you to step back more. And if you can get closer with no consequences, the subject will be even more magnified. On the other hand, using a 105mm macro lens will force you to get closer and/or make the subject smaller.
For more lens options and chances at macro photography we would recommend a DSLR or mirrorless camera. These usually have plenty of good macro lens options. Depending on your camera brand, you could even have a wide variety of choices from third-party lens manufacturers like Sigma and Tamron. Nikon and Canon usually have the most lens options.
Keeping an eye on aperture

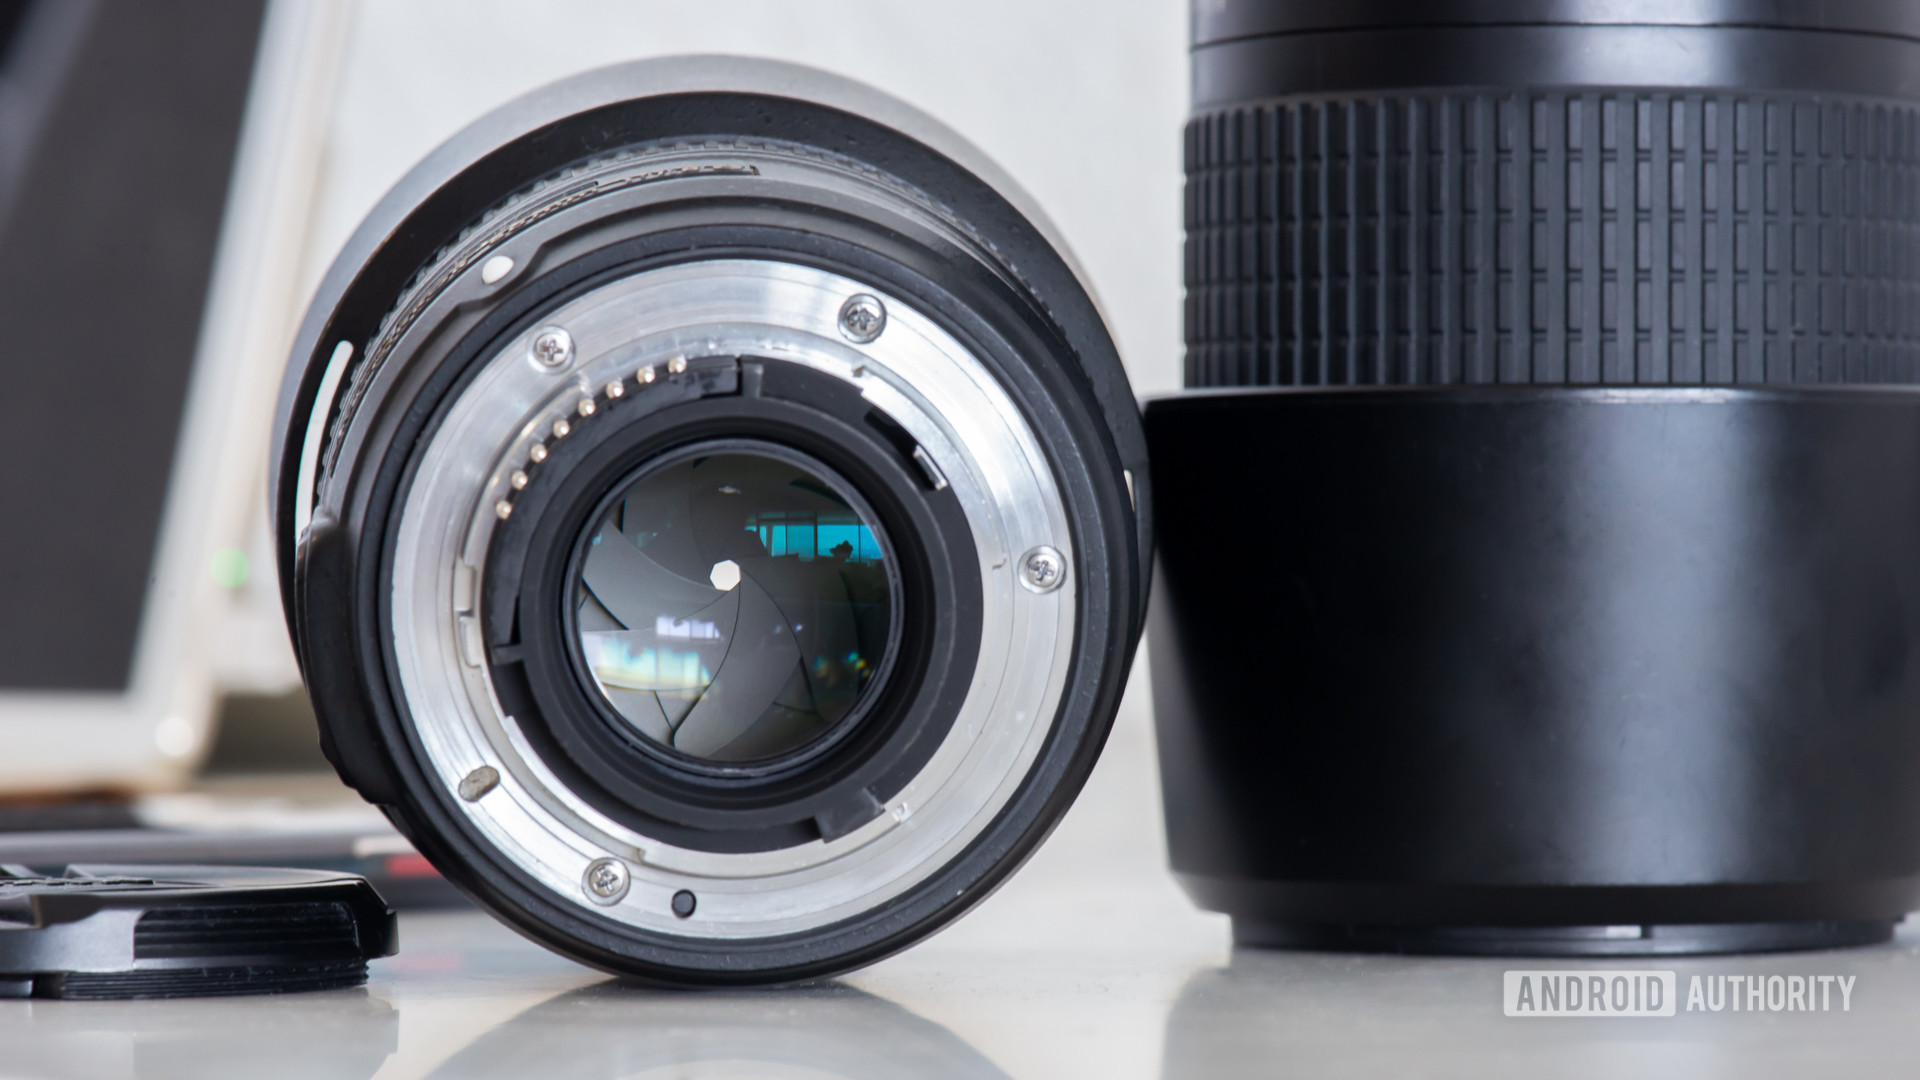
Aperture is a very important factor to consider, because it affects depth of field. We have special content for understanding aperture and how it affects images, which you should read before moving forward with macro photography. In summary, a tighter aperture grants a wider depth of field, which means more of the image can be in focus and less of the background/foreground will be blurred out.
Depth of field gets very small as magnification increases, so make sure you have what you want in focus. Leaving the aperture at f/2.8 may mean not having a whole bug in focus, which is fine if you only want to show its face. If you want to display the whole bug’s body, you may want to shoot at f/16 or smaller.
Lighting is key

In photography you always have to sacrifice something to gain something.
In photography you always have to sacrifice something to gain something. A tighter aperture means less light is getting to your camera sensor. This can be compensated with a higher ISO, but that could add noise. You can use a longer shutter speed, but that could add motion blur to your images, which is common when you combine very small subjects with shaky hands and fast-moving bugs. If you can’t shoot with the given ambient light, you will need artificial lighting. Just be careful not to scare away your subject with strong lights or harsh flashes.
See? Macro photography isn’t as simple as it seems!
Focusing can be tricky

Keep in mind focusing at extremely close distances is hard because depth of field is very shallow. You may only have a few millimeters of depth of field even when shooting at f/32. This means something as subtle as a heartbeat can throw your focus off. It’s important to minimize your movement as much as possible, which may mean holding your breath and shooting between heartbeats.
Also, depending on your subject you may want to switch to manual focus. Because your bodily movements can throw your focus off, macro photographers often prefer just setting the focal length, finding the right exposure, and leaving the focus ring alone. Remember you want to minimize hand movements to get a steady shot, and in many cases the subject is moving too! A good solution is to leave the focus close to your desired level and just move back and forth to place the focus point in the right spot.
Use a tripod if possible
![]()
Many of these issues are solved by stabilizing your camera with a tripod. You could then use a remote trigger or set a timer for each shot and not worry about body movements. This can be hard to do depending on your subject, but it will definitely improve your chances of striking the right photograph when the conditions allow it.

With these tips, enough patience, the right subject, and many shots, you too can join the macro photography community and show everyone the tiny views the world has to offer. Got any more tips? Share them in the comments, as well as your macro shots!
Looking for more camera equipment? We have more to recommend!
You should also take a look at our photography educational material to make the most out of your equipment.
More posts about
from Android Authority https://ift.tt/2VXYB1B
via IFTTT


Post a Comment